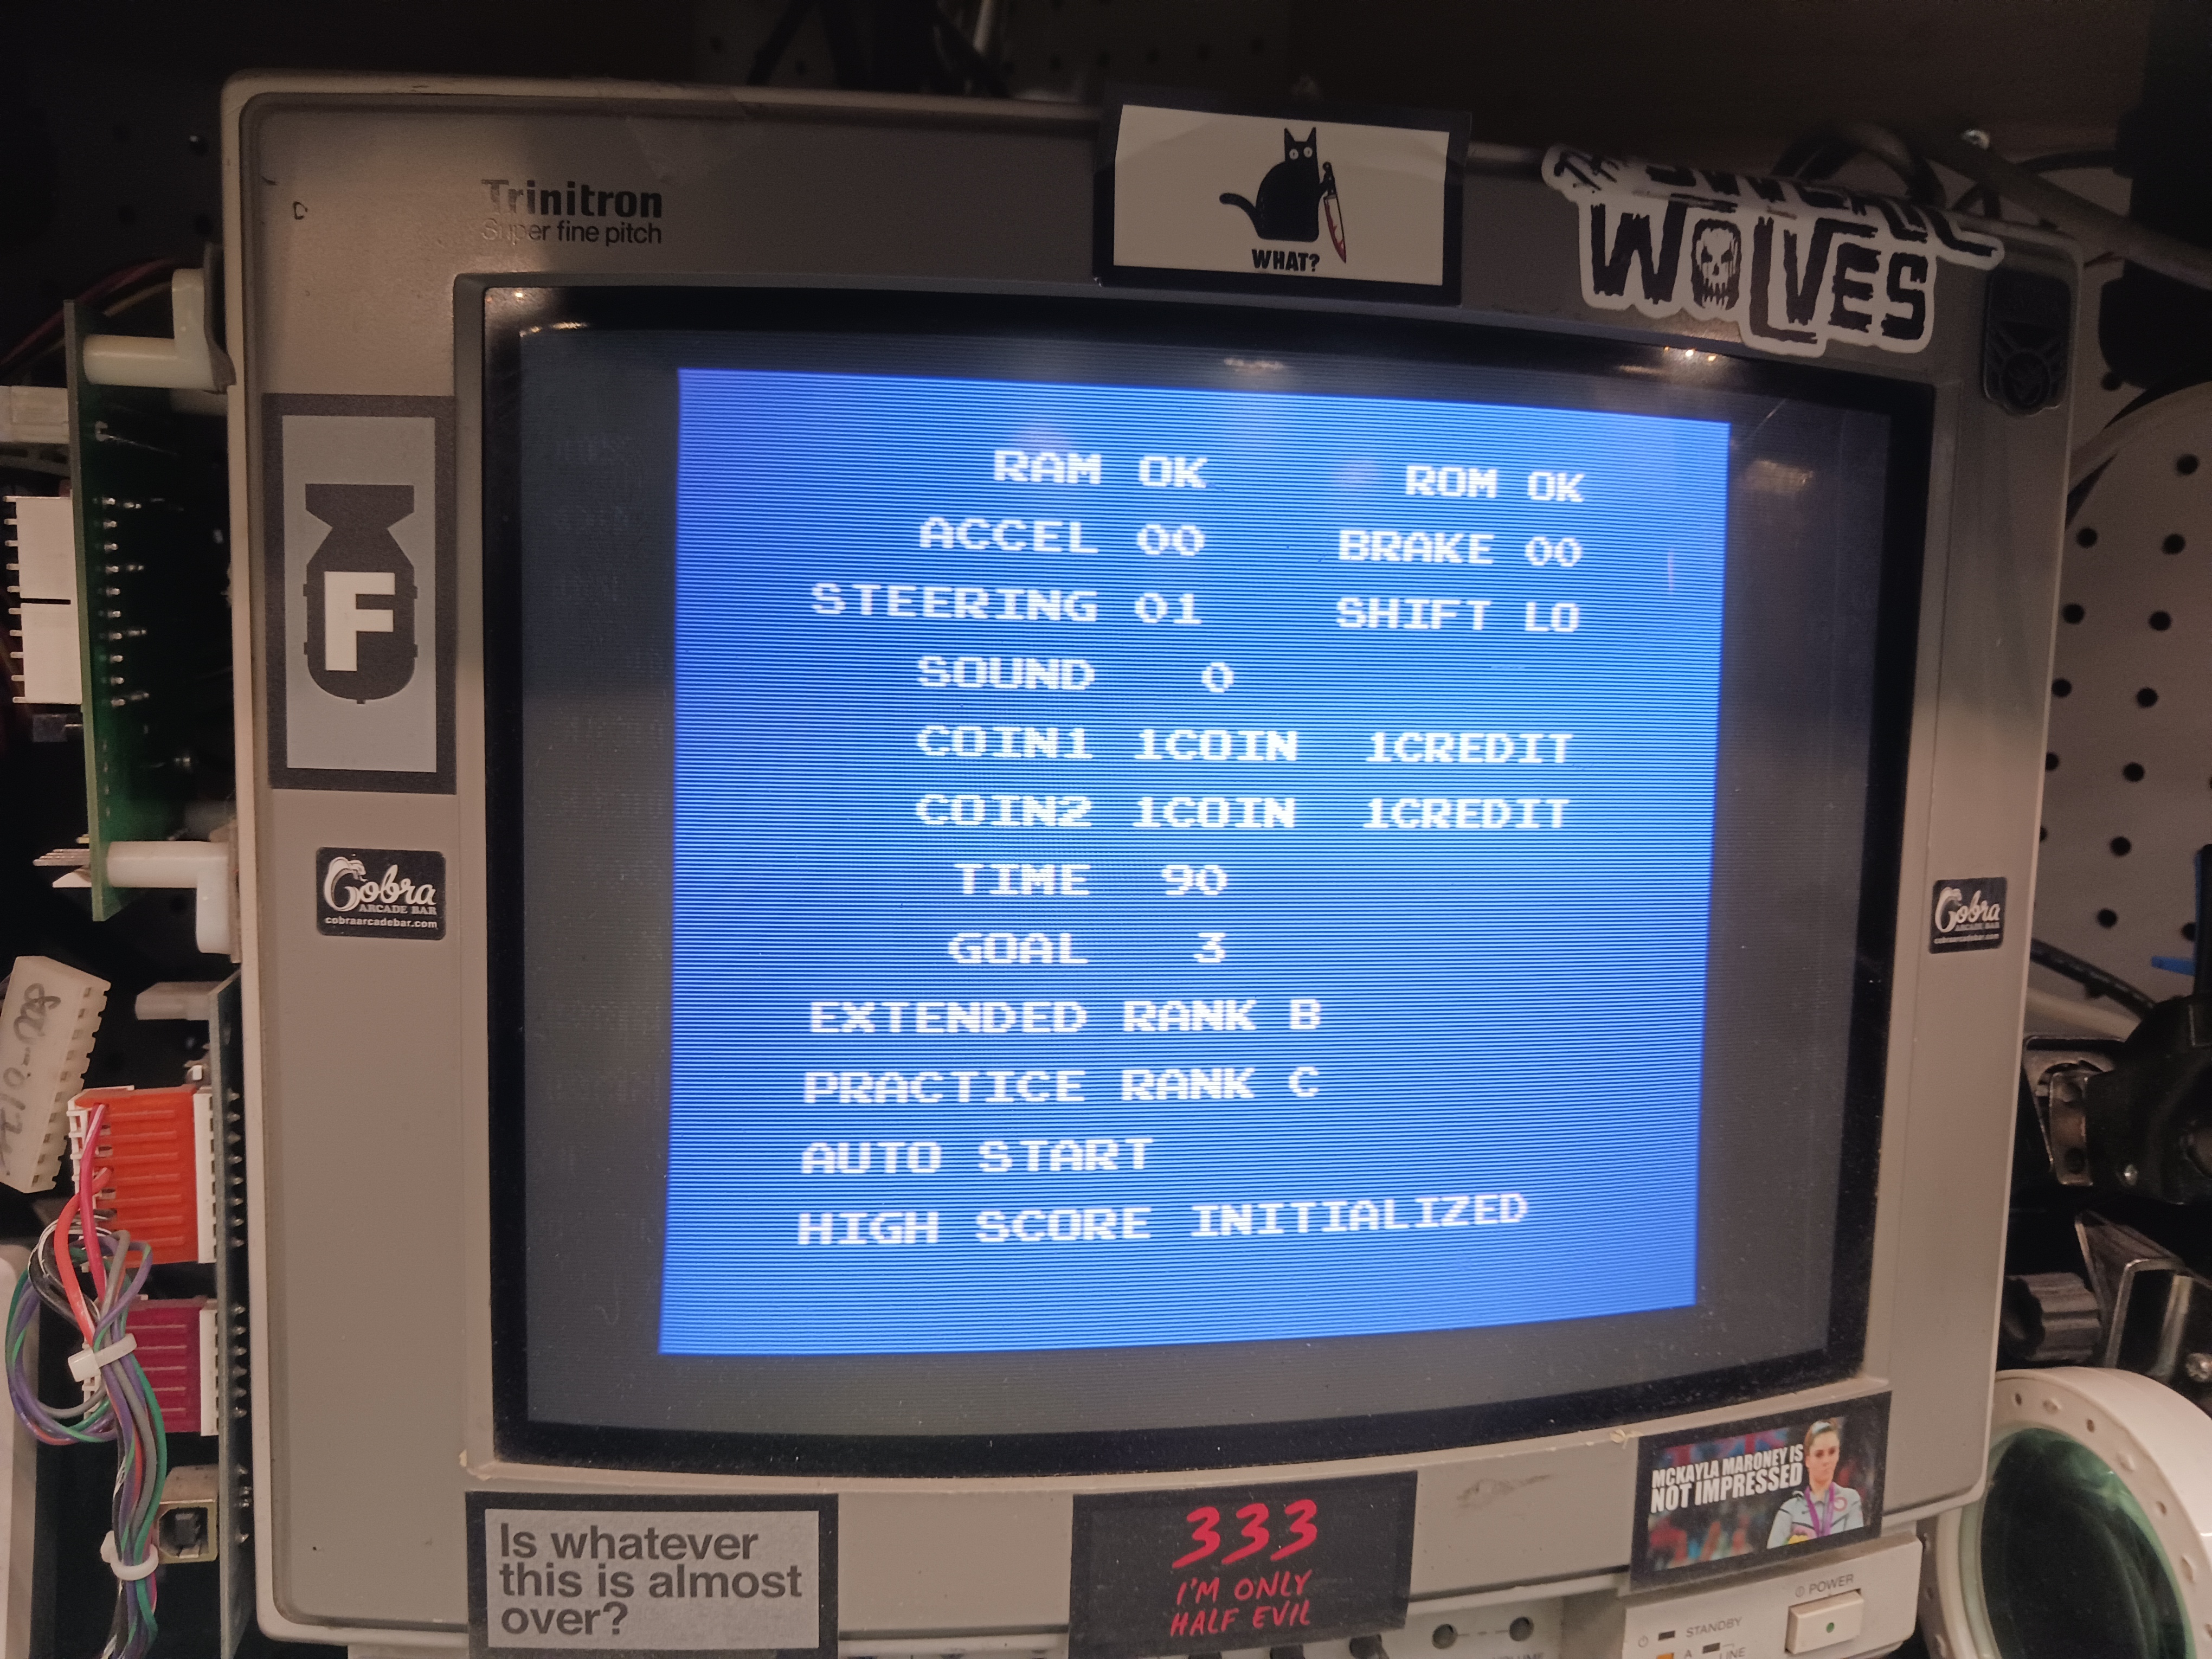
Pole Position. it had a NiCAD battery for saving high scores. given the game is over 40 years old and (seemingly) there’s still boards possessing these old batteries, you can see first hand how these CPU boards can get wrecked! alkaline battery leak is pretty bad, so is capacitor leak, but nickel-cadmium is on a whole other level of awful. here’s the step by step process of how I had to bring this Pole Position back to life (with gamefixer doing the overseeing after my surgical process)
1.) the wreckage. the leak can get all over resistors, into transistors, and into chips. what happens here is all that circuitry winds up hosed. the first step is cleaning the mess…

2.) believe it or not, Zep Acidic Toilet Bowl Cleaner is what you need for such a disaster. it doesn’t smell very good, and you shouldn’t get it on your hands, but it’ll make the rest of the process much easier. I really miss that sink, just FYI.
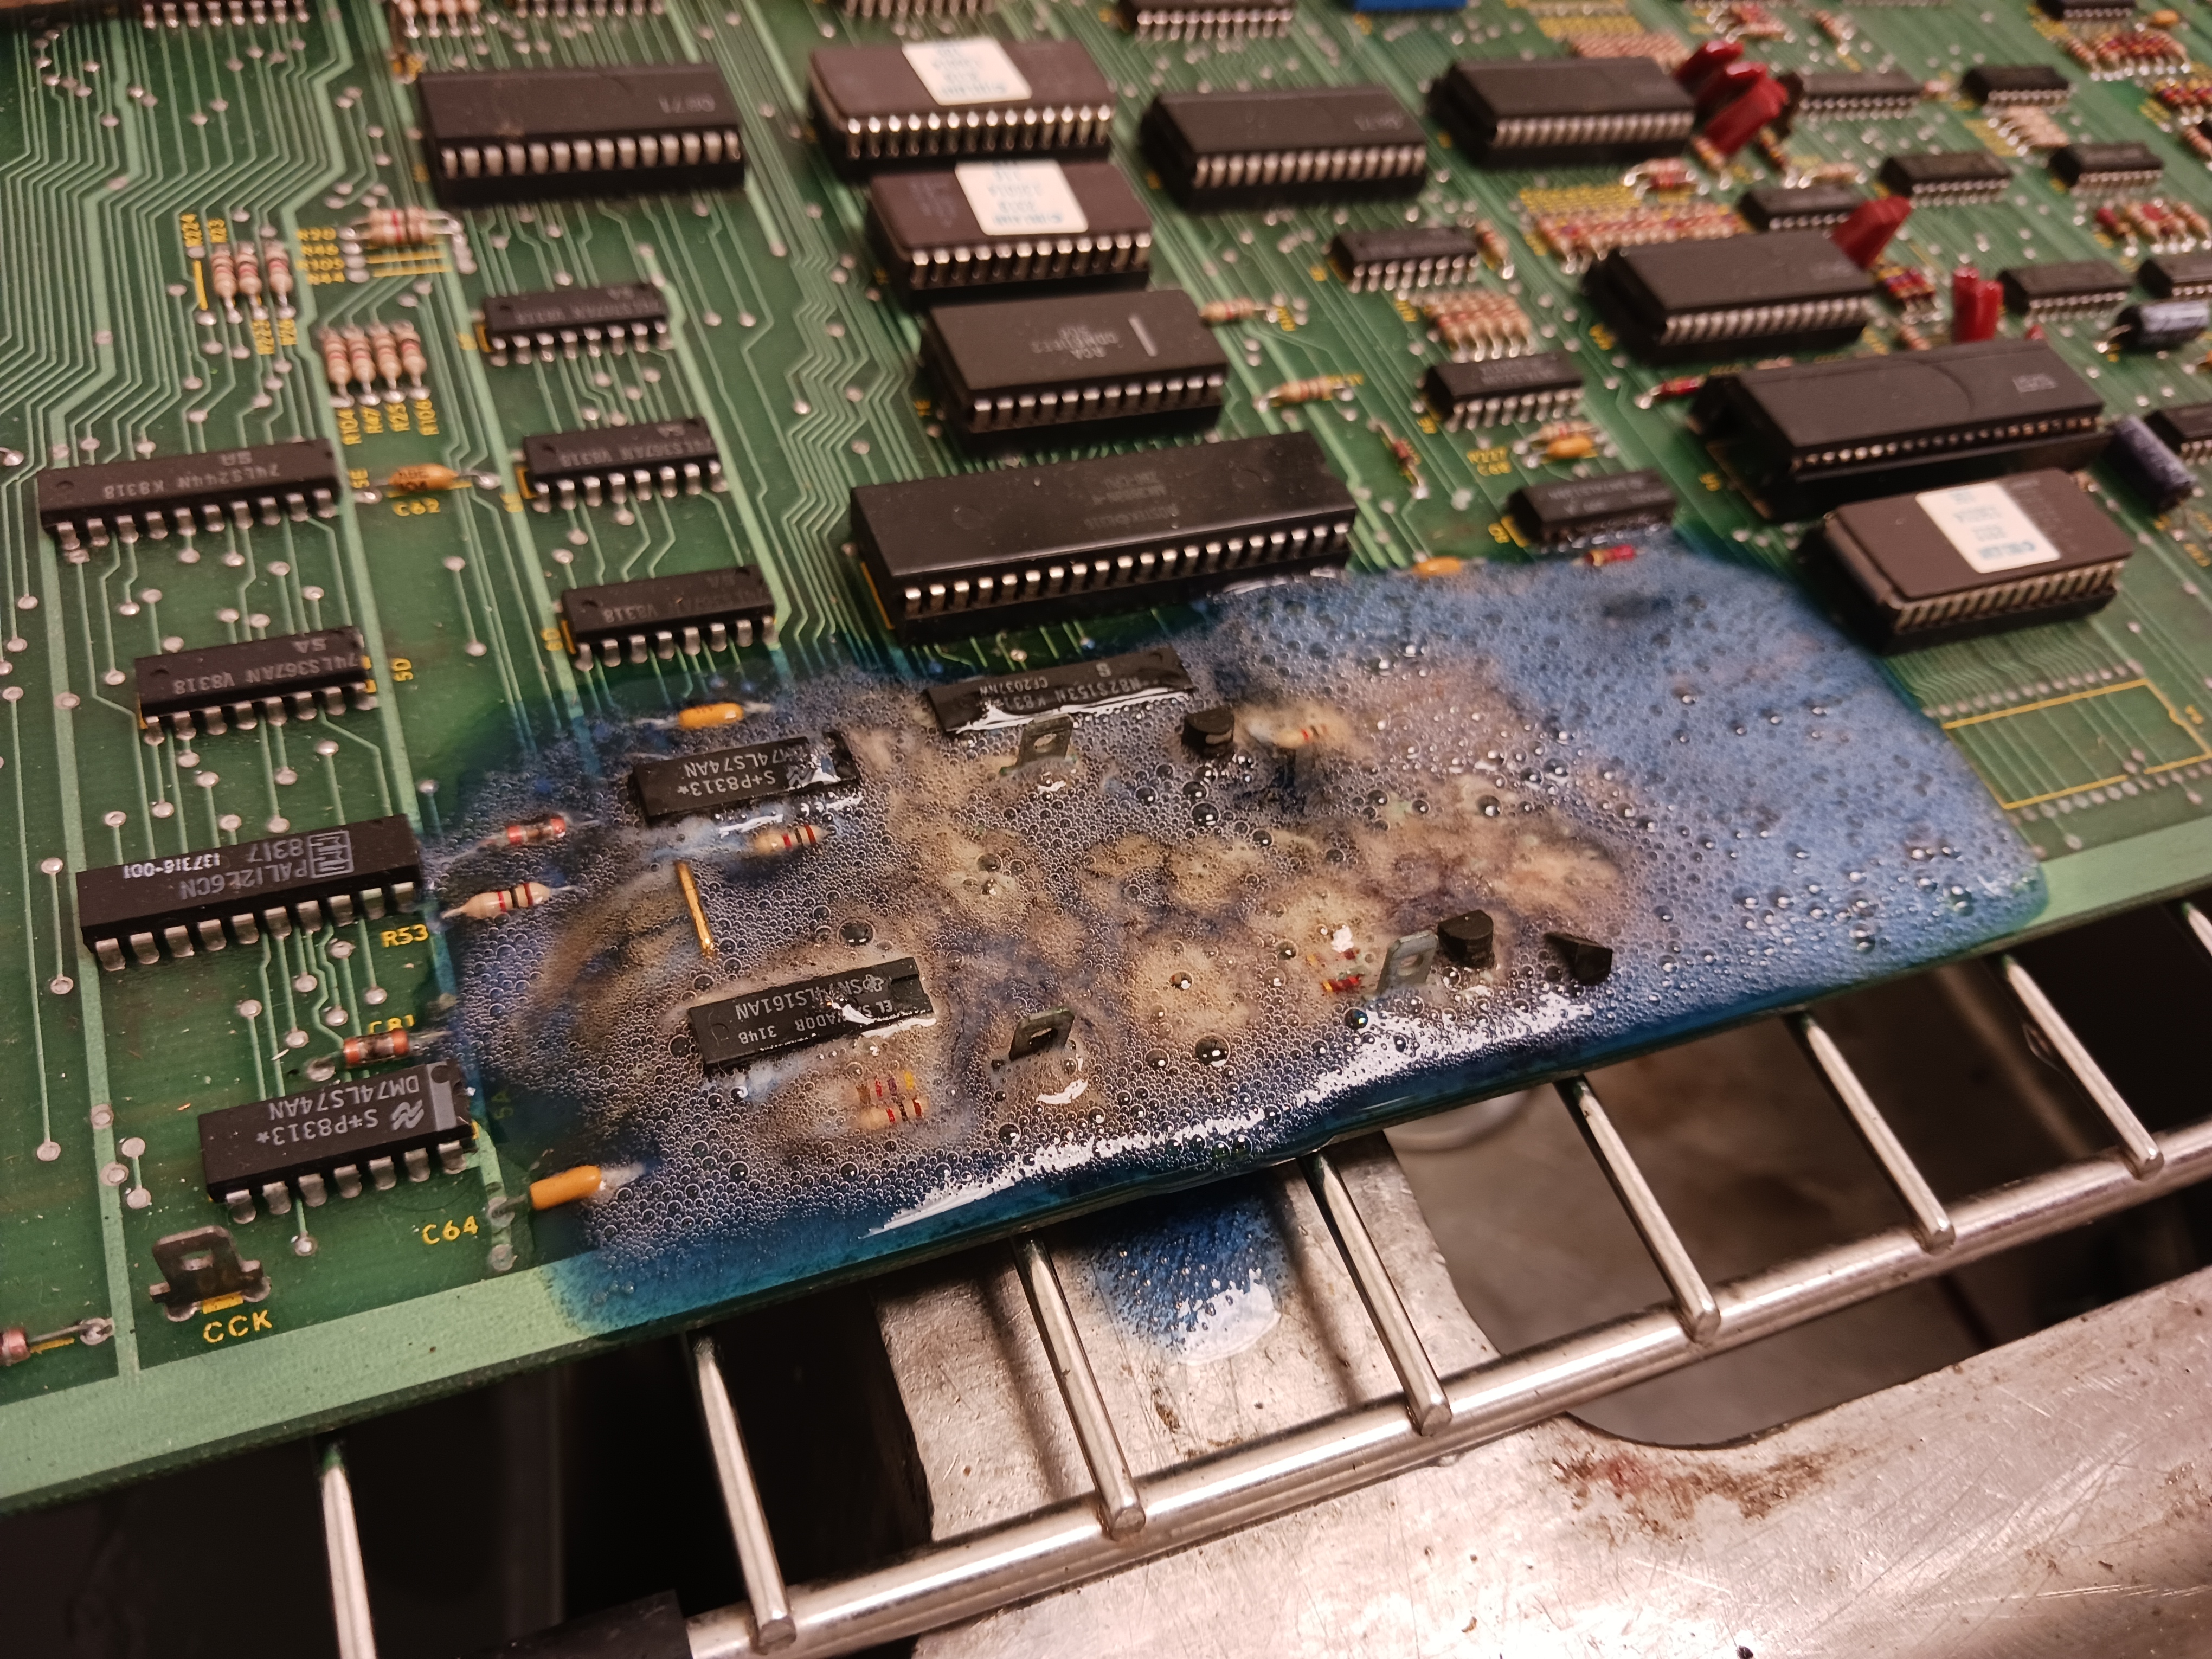
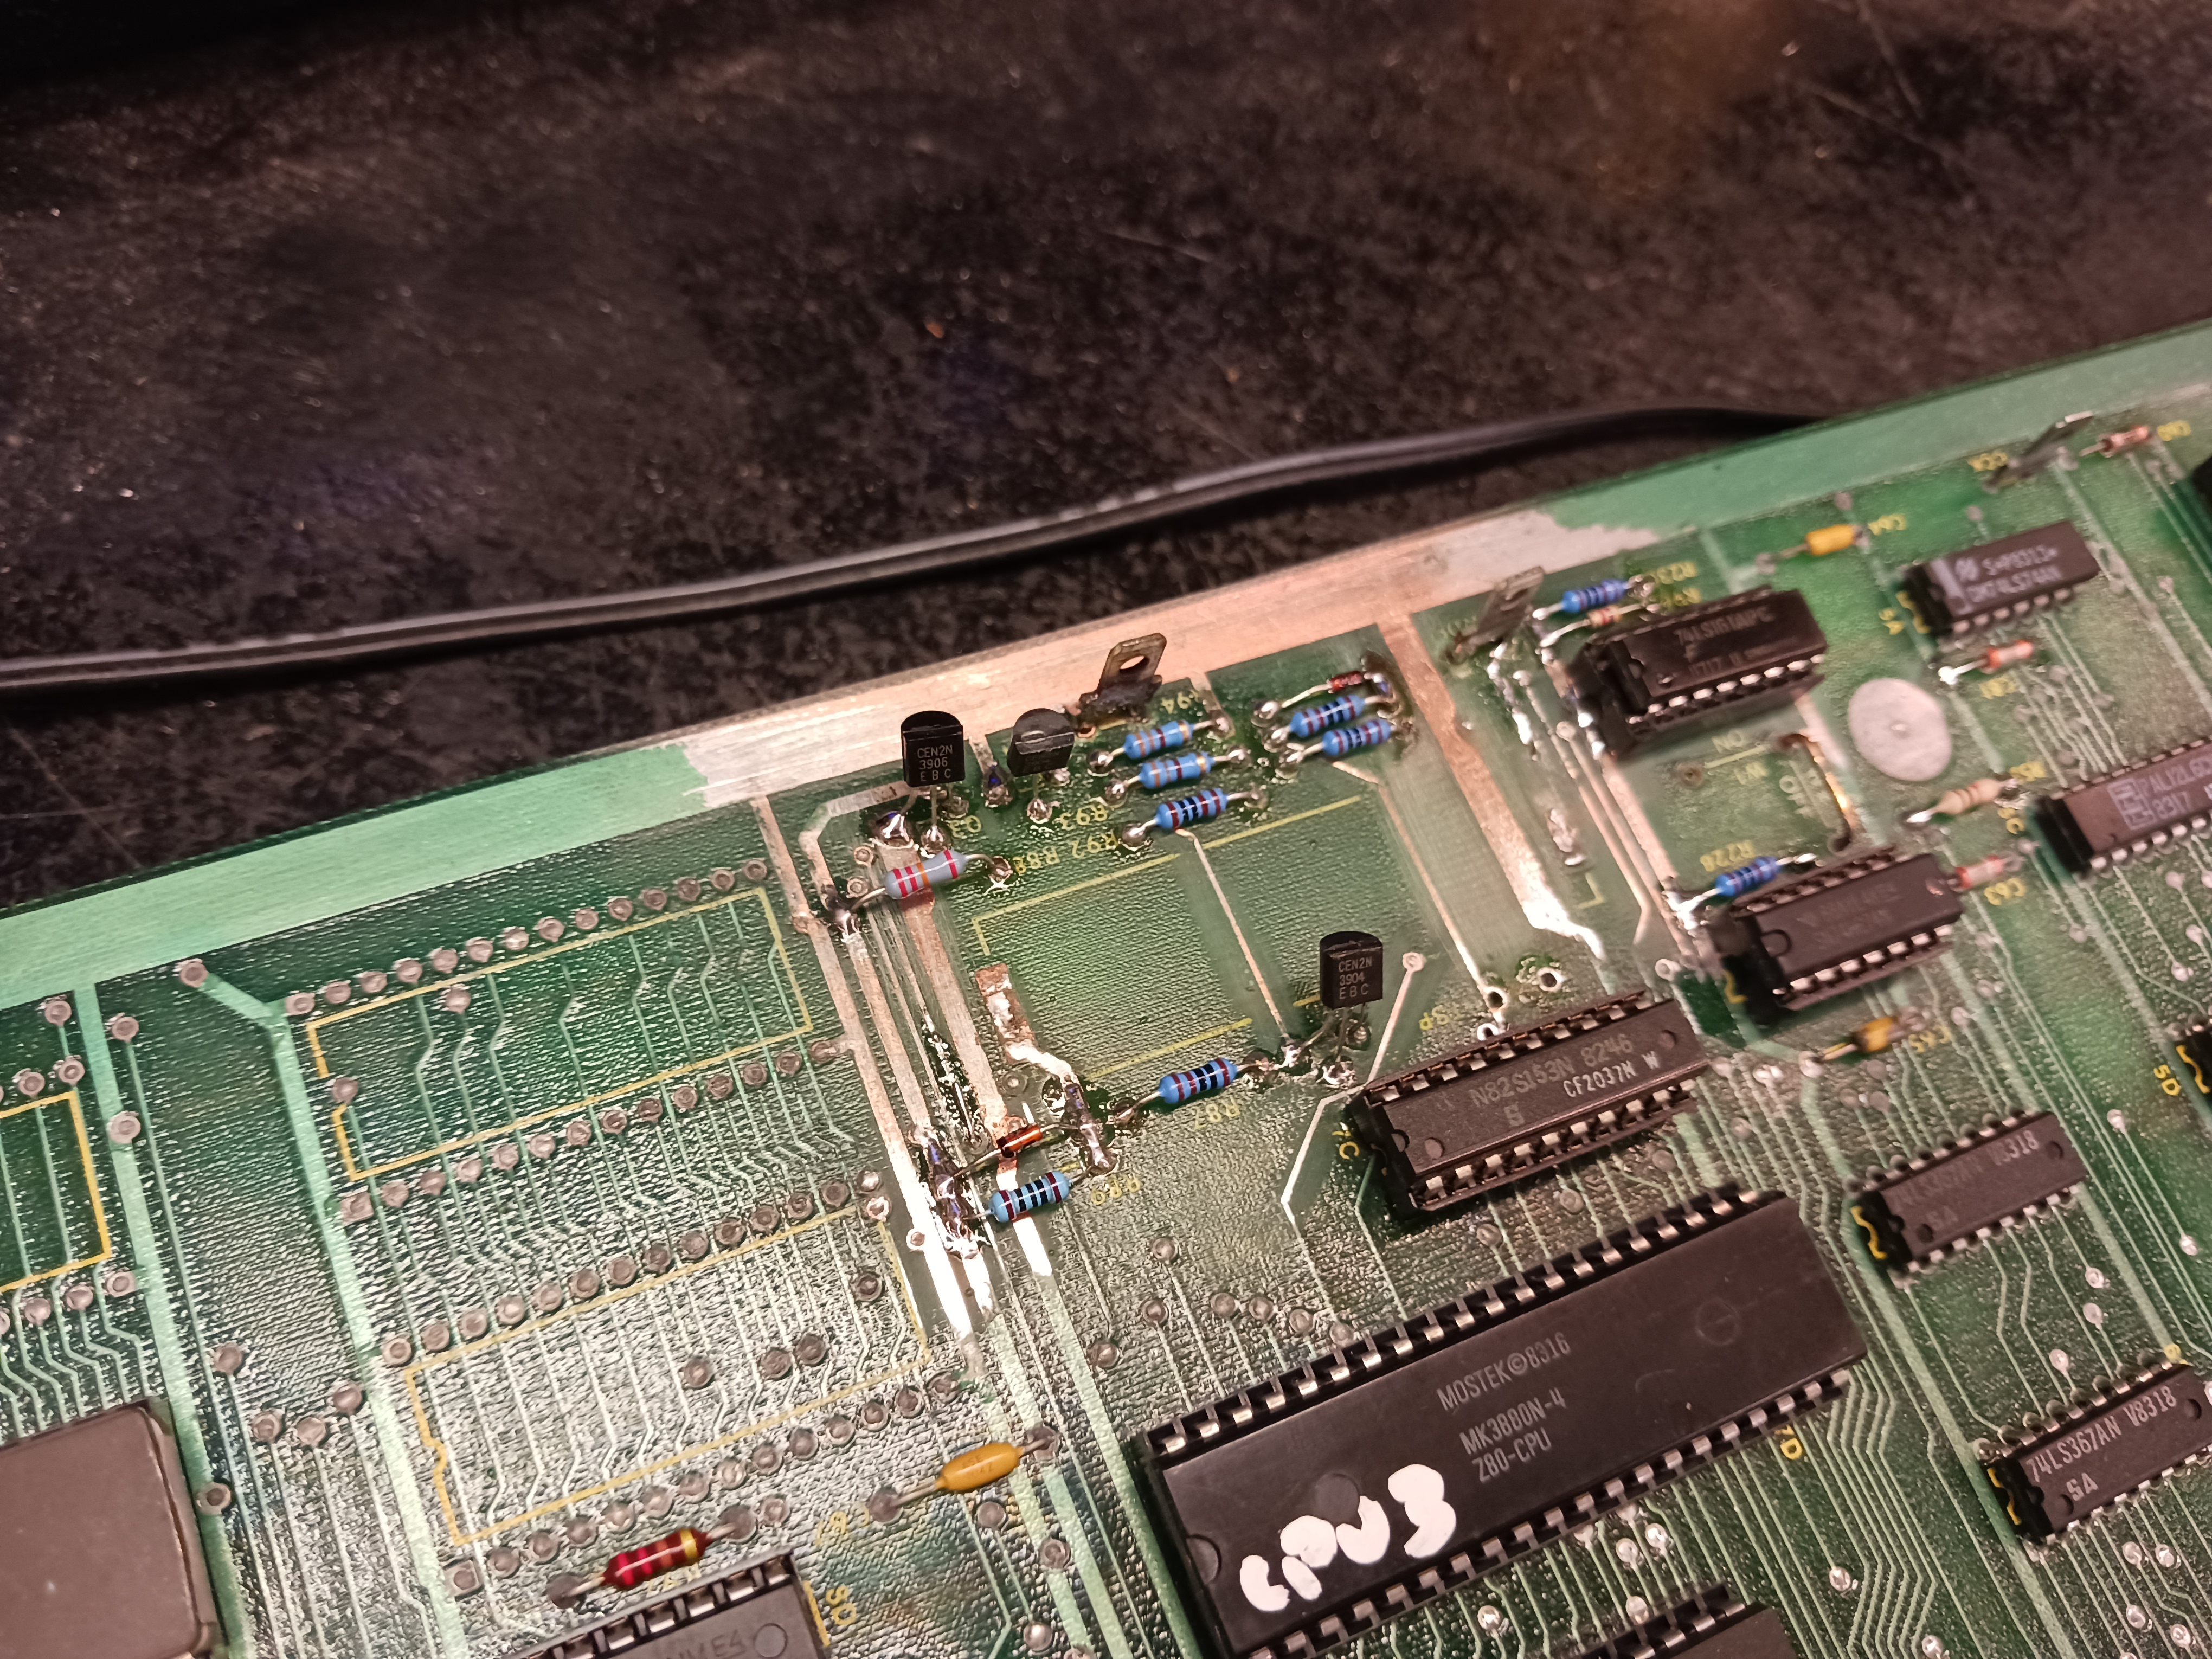
3.) once the leak gets into the traces, it can spread. especially if it gets into the ground traces, then it can go (I’ve discovered) pretty much anywhere. I’ve always been a proponent of sanding, so a rotary tool and a sanding bit can be effective here. it won’t win you a beauty contest when you’re done, but my old saying has always been functionality over aesthetics.
4.) if you look in the previous picture the legs of the chips in the vicinity changed color. I wasn’t taking any risks, I said let’s just take the old ones out and start over. since there’s risk of the leakage eating the traces, you have to do a ton of continuity testing with the meter first. that’s from point to point and inspecting the parts/solder side pads where the components were top and bottom. usually in cases like these the through hole plating connecting the sides of the board should remain intact.
5.) so I got the board to kind of think again. it’s getting as far as self test. I genuinely don’t remember what caused the ROM 1 error but I think it was one of the sub CPUs wasn’t working. (I’ve been on a thousand adventures since last year — I’m guessing that ROM 116 is the “ROM 1”?)
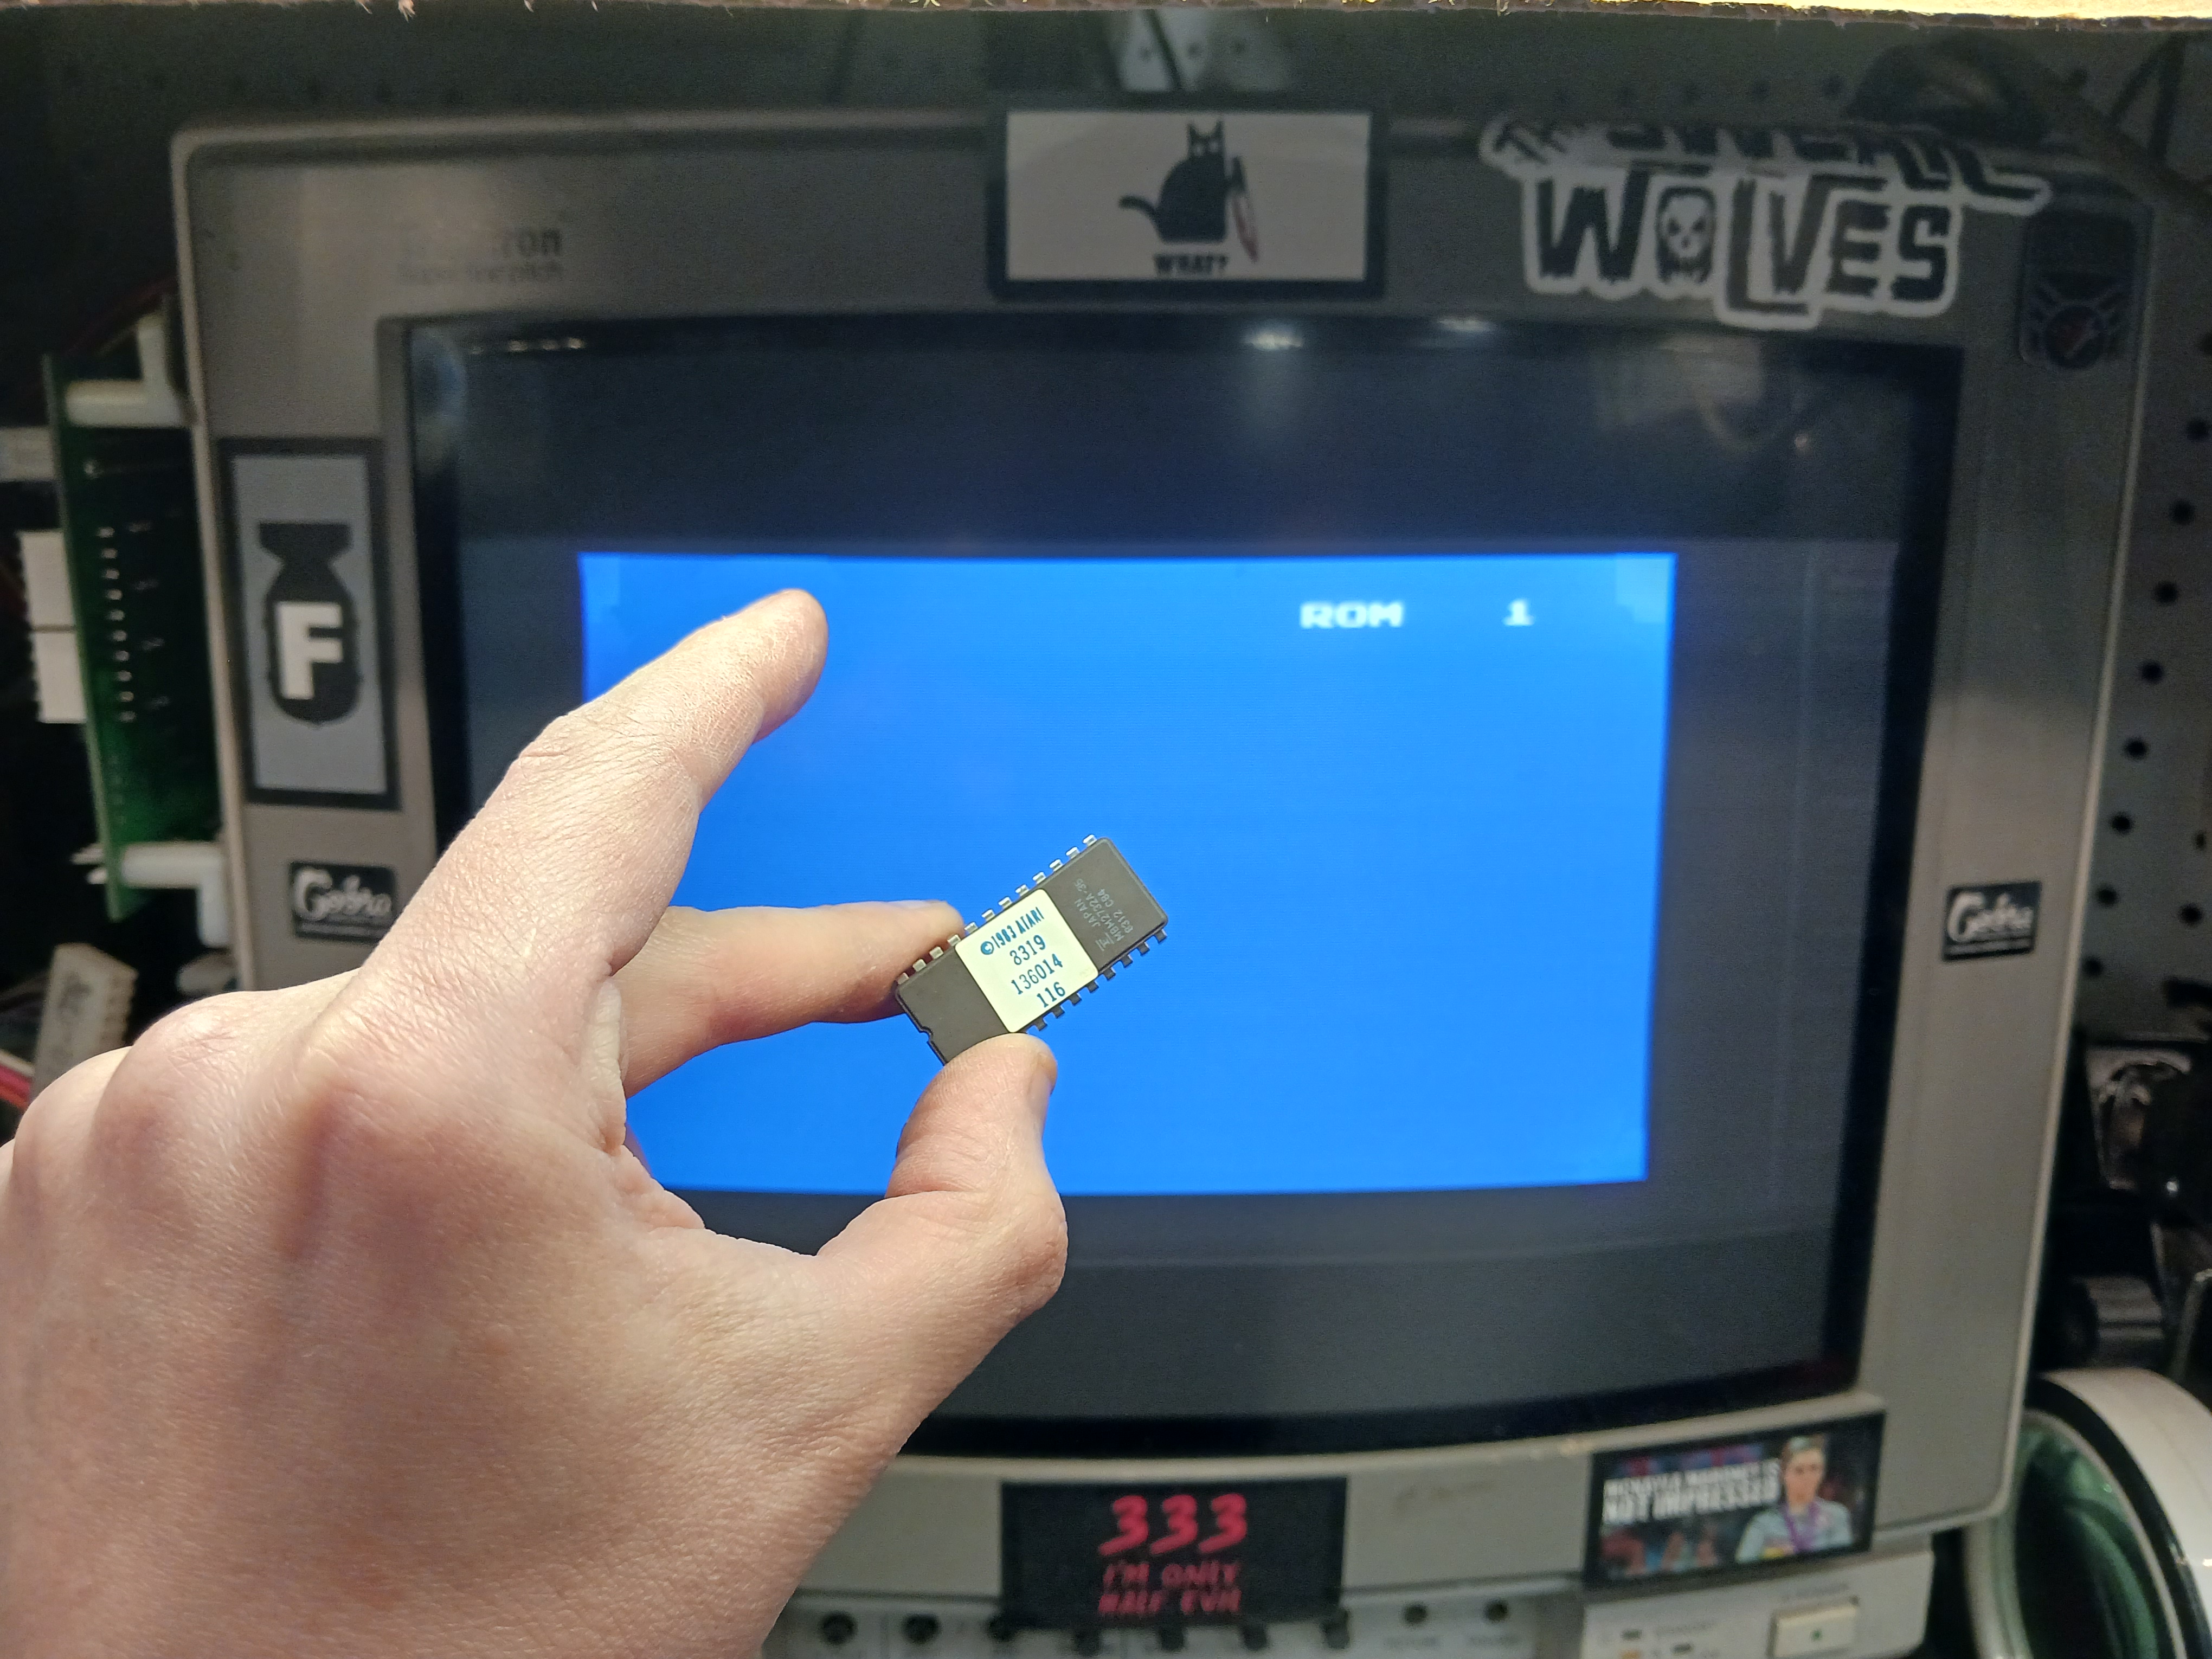
6.) RAM 73 is a common error with these, I think that usually means the interconnect adapter between the CPU and Video boards isn’t working? I think this means I progressed further in the self test though, cause I think Namco games check ROMs first then RAMs. (you know, ROM OK RAM OK?)

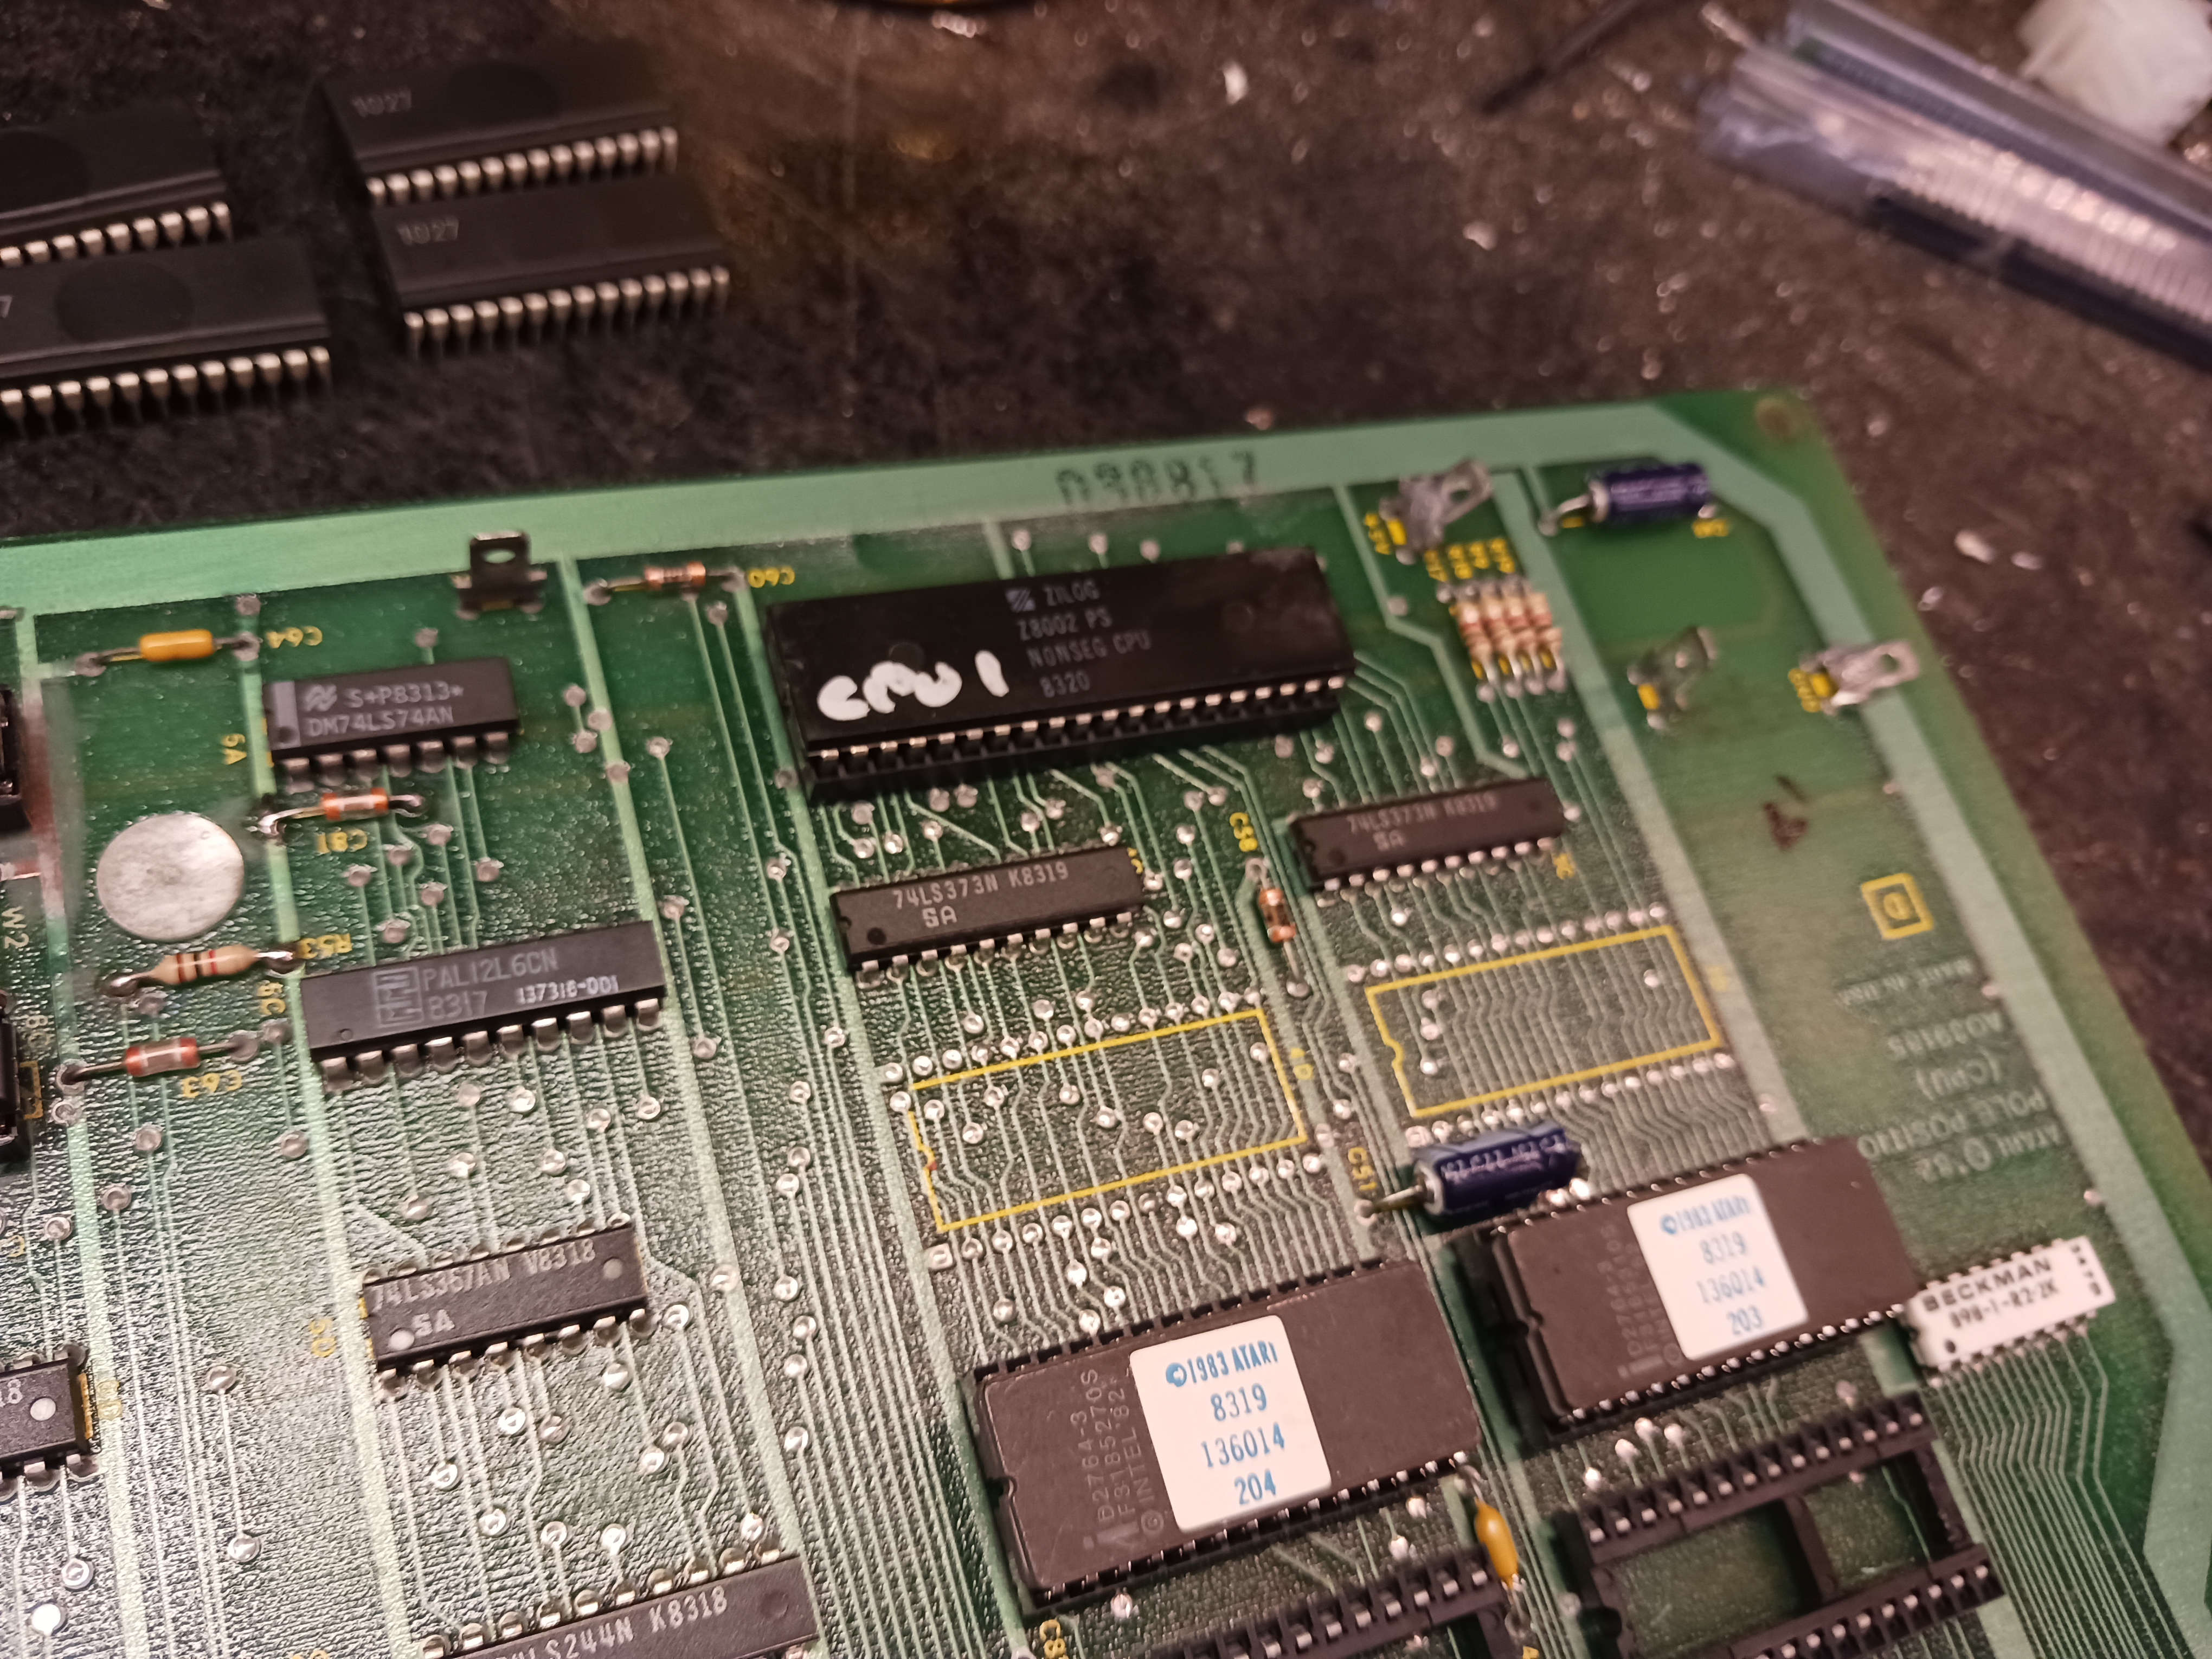
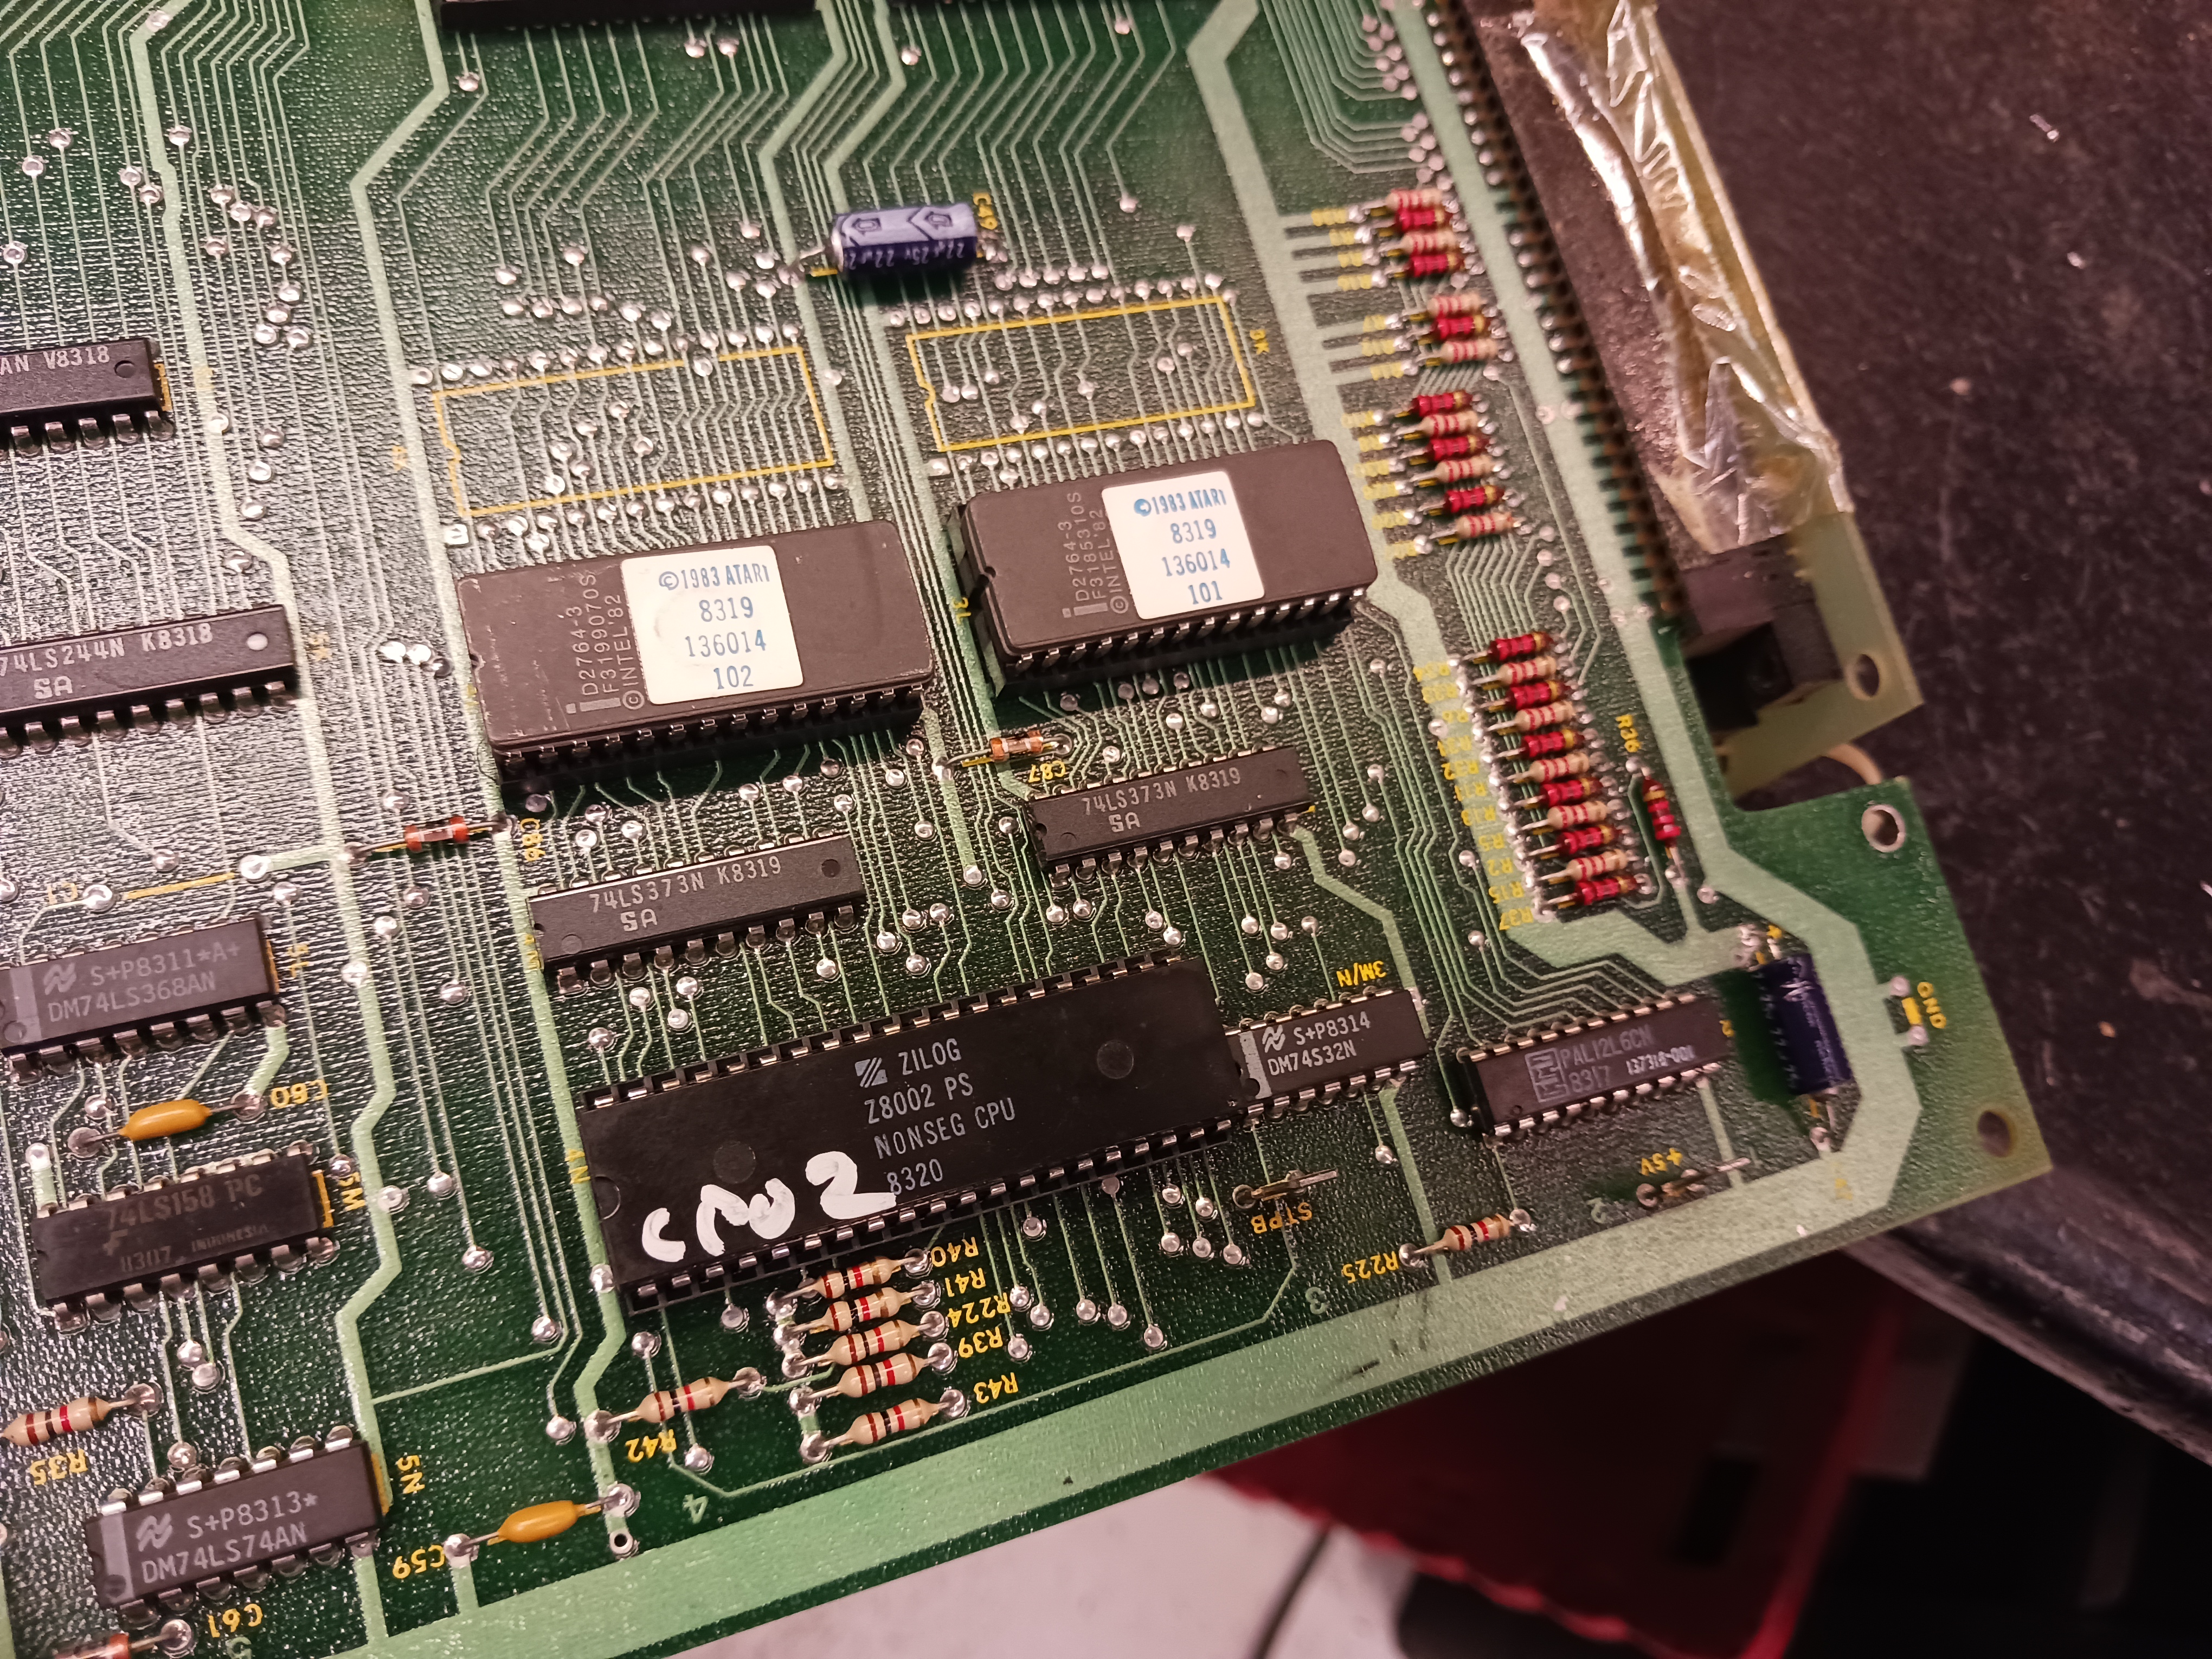
7.) if I recall my CPU x labels on the CPUs were wrong. so take that with a grain of salt. (what’s labeled CPU 1 I think is CPU 2, and CPU 2 is CPU 3, and CPU 3 is CPU 1 — the main CPU being the Z80 and the sub and sound CPUs are Z8002s)
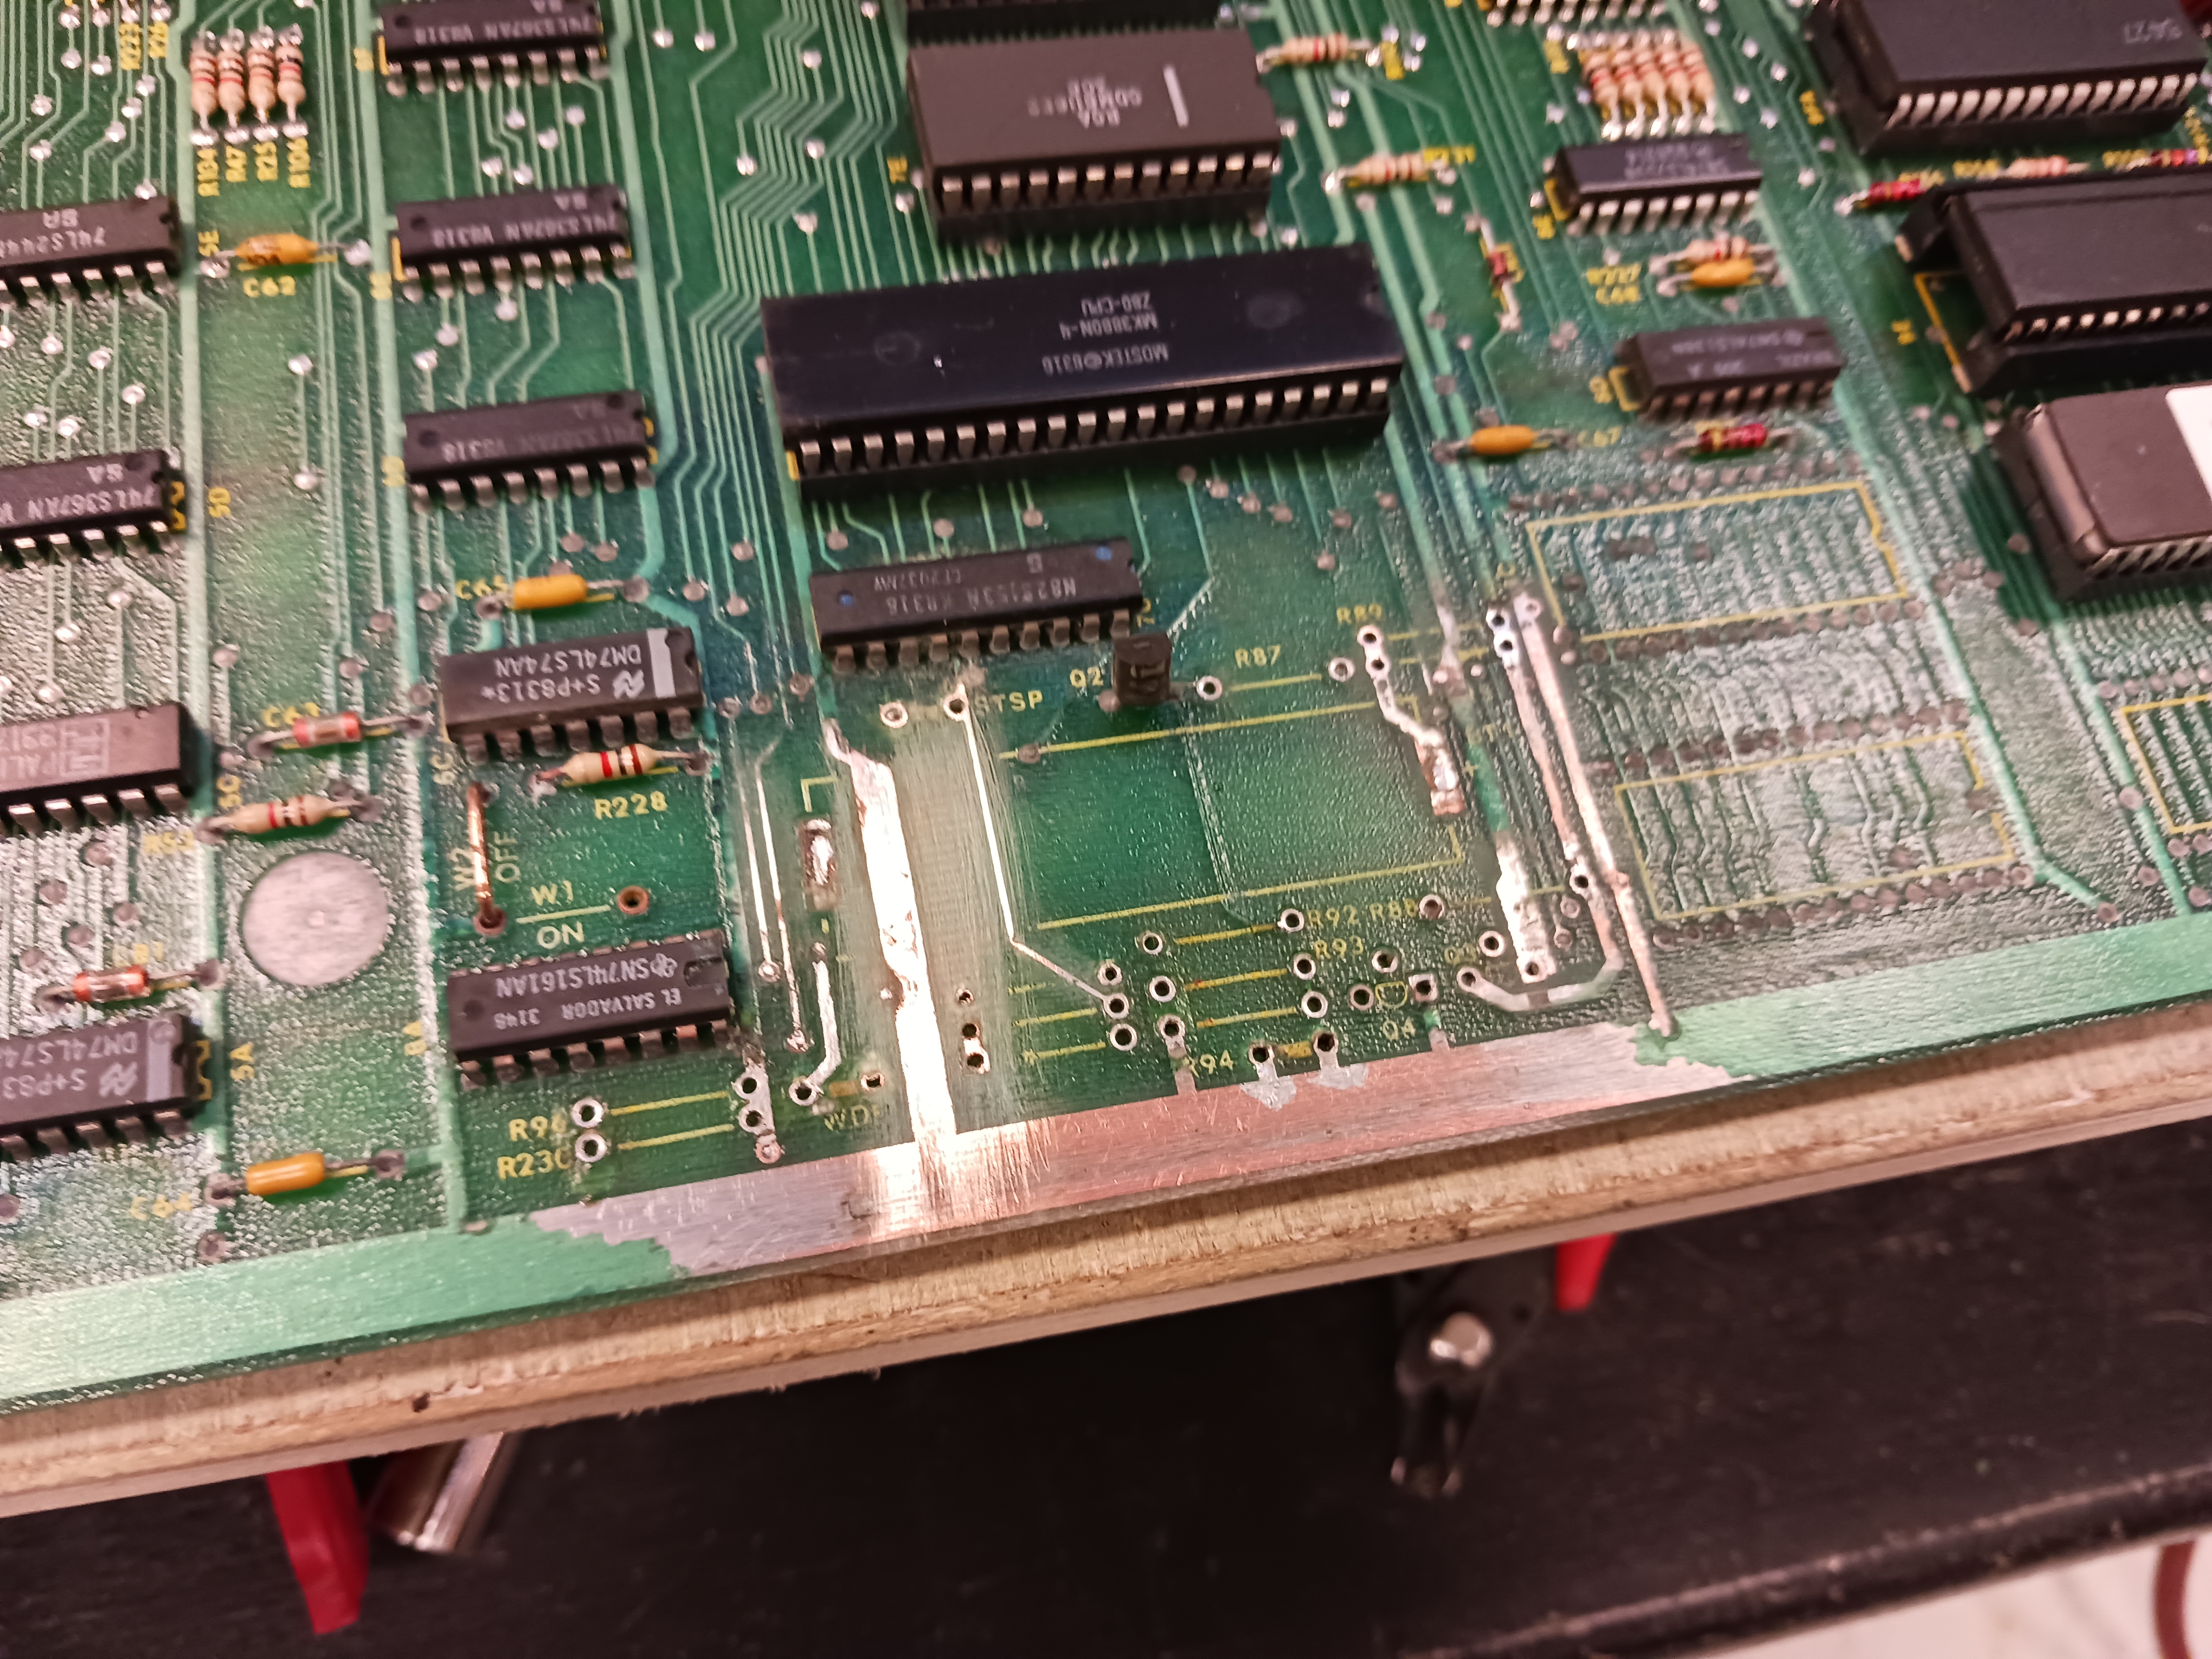
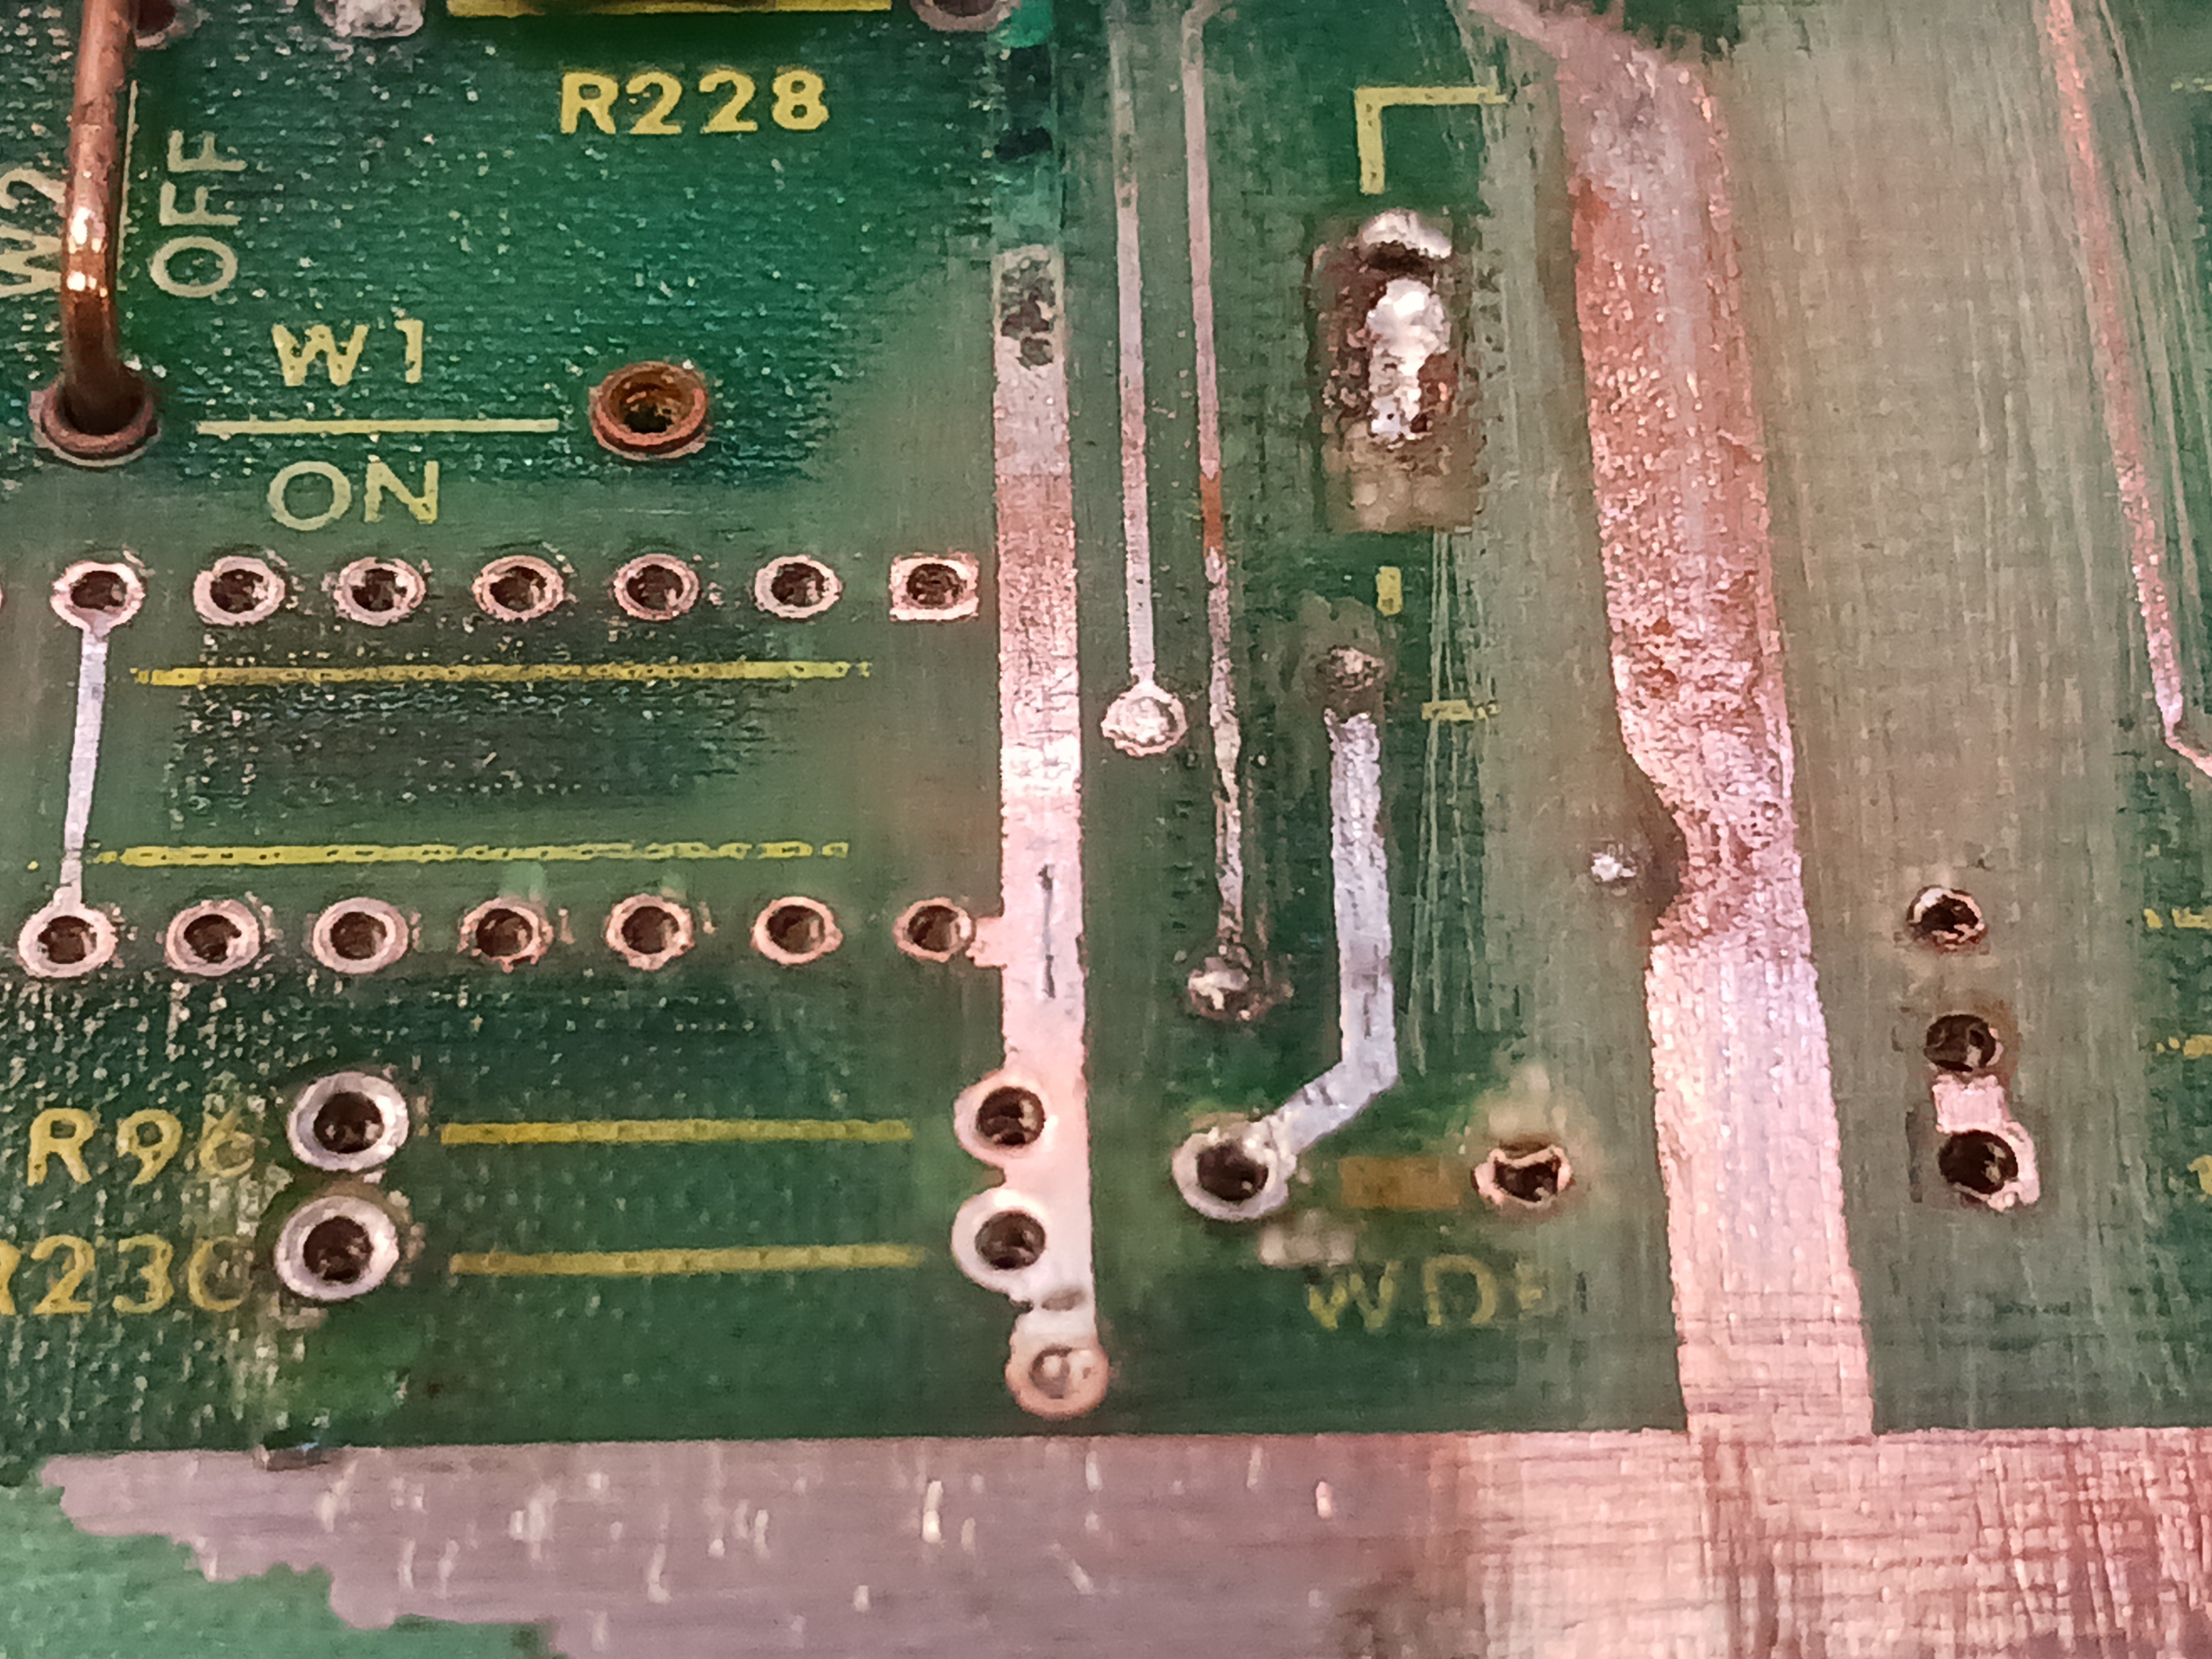
8.) how it looked after I installed one of those Ian Kellogg Pole Position rebuild kits. it was all the parts that normally get eaten in that area. he was a pretty great asset to the community for a time. I may have needed to do a little trace patching but it doesn’t look obvious to me.
9.) whatever I did… I made it work again. so I can say I fixed a battery leak Pole Position. I wish I had more of an idea what all I did, I only have these pictures. if you’re faced with such a debacle hopefully this helps. I don’t think I saved the Ian Kellogg parts sheet but I can look in my milk crate at work here sometime.